Proel PLML575SEPS Manuale d'uso
Pagina 20
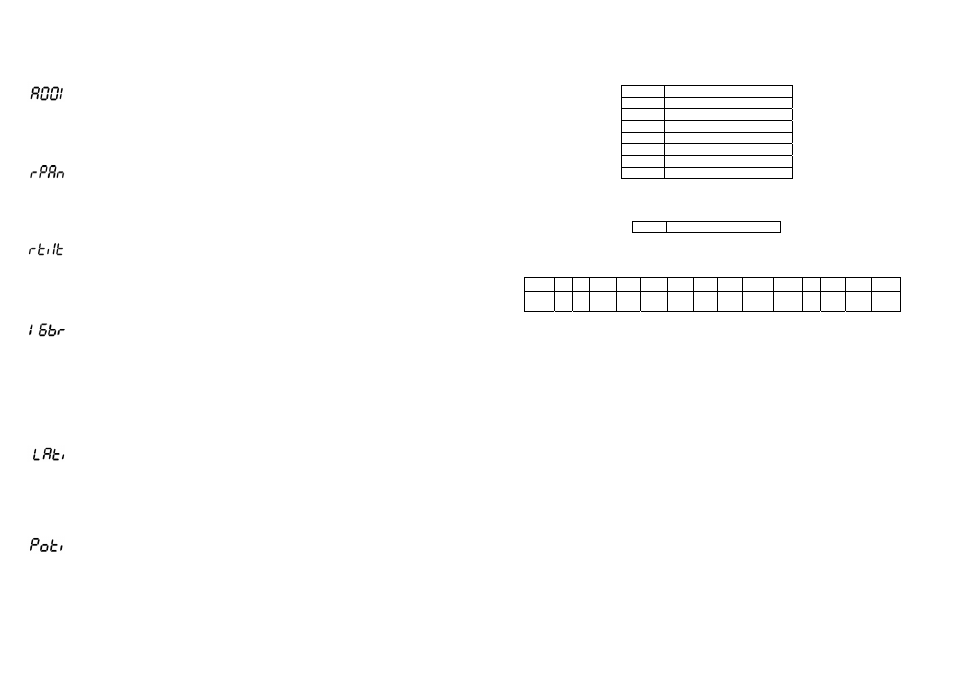
FUNZIONI PRINCIPALI
- DMX settaggio dell’indirizzo .
Quando la lettera “A” lampeggia. Usare i tasti “UP” e “DOWN” per selezionare l’indirizzo
richiesto (001 - 512) poi premere il tasto “ENTER” per confermare o il tasto “MODE” per
cancellare e ritornare al menu principale.
– Pan Reverse
Questa funzione permette di invertire il movimento del Pan. Usare i tasti “UP” e “DOWN”
e selezionare “ON” per attivarla oppure “OFF” per disattivarla, poi premere “ENTER” per
confermare oppure il tasto “MODE” per cancellare e ritornare al menu principale.
– Tilt Reverse
Questa funzione permette di invertire il movimento del Tilt. Usare i tasti “UP” e “DOWN”
e selezionare “ON” per attivarla oppure “OFF” per disattivarla, poi premere “ENTER” per
confermare oppure il tasto “MODE” per cancellare e ritornare al menu principale.
– Risoluzione del movimento
Attraverso questa funzione si può regolare la risoluzione del movimento fra 8 e 16 bit.
Usare i tasti “UP” e “DOWN” per selezionare “ON” per regolare la risoluzione a 16 bit
oppure “OFF” se si vuole una soluzione a 8 bit poi premere “ENTER” per confermare
oppure il tasto “MODE” per cancellare e ritornare al menu principale
Nota:
Se si seleziona la risoluzione a 16 bit l’apparecchio occuperà 16 canali DMX nel caso si
seleziona la risoluzione a 8 bit l’apparecchio occuperà solo 14 canali DMX.
– Tempo di accensione lampada
Questa funzione permette di leggere il numero totale di ore che la lampada è stata
accesa. Premere “ENTER” oppure “MODE” per ritornare al menu principale. Per
riportare a 0 il contatore occorre tenere premuti i tasti “UP” e “DOWN” e premere il tasto
“ENTER”
– Tempo di accensione apparecchio
Questa funzione permette di leggere il numero totale di ore che il PLML575SE è stato
acceso. Premere “ENTER” oppure “MODE” per ritornare al menu principale.
20
CHANNEL 15: Shutter – strobe
0
÷31
Shutter closed
32
÷63
No function (shutter open)
64
÷95
Strobe effect from slow to fast
96
÷127 No function (shutter open)
128
÷159 Pulse effect
160
÷191 No function (shutter open)
192
÷223 Random strobe effect
224
÷255 No function (shutter open)
CHANNEL 16: Dimmer
0
÷255 Dimmer from 0% to 100%
FUNCTION OF THE CONTROL CHANNELS - 8 BIT PROTOCOL
DMX
channel
1
2
3
4
5
6
7
8
9
10
11
12
13
14
function Pan Tilt Pan/tilt
speed
Fan
On/off
lamp
Colour
wheel
1
Colour
wheel
2
Prism
wheel
Static
gobos
Rotating
gobos
Gobo
rotation
Iris Focus Strobe Dimmer
ADDRESSING
The Control Board on the top side of the PLML575SE allows you to assign the DMX
fixture address, which is defined as the first channel from which the PLML575SE will
respond to the controller. If you set, for example, the address to channel 5, the
PLML575SE will use the channel 5 to 20 for control.
Please, be sure that you don’t have any overlapping channels in order to control each
PLML575SE correctly and independently from any other fixture on the DMX data link.
If two, three or more PLML575SE are addressed similarly, they will work similarly.
For address setting follow this procedure:
1.
Switch on the PLML575SE and wait until the fixture reset has finished ("rSt" is
flashing at the display).
2.
Press the “MODE” key in order to access the main menu. Browse through the
menu by pressing the “UP” and “DOWN” keys until the display shows "A001".
Confirm by pressing “ENTER” key and the letter "A" will flash.
3.
Use the “UP” and “DOWN” keys to select the desired address.
4.
Confirm by pressing “ENTER” or “MODE” to cancel.
CONTROLLING
After having addressed all PLML575SE , you may now start operating these via your
lighting controller.
Note:
49