Proel DWSKIT Manuale d'uso
Pagina 21
21
When the microphone is ON this indicator light is ON.
3. MIC ON/OFF
Pressing this key the microphone status is ON and the speech is enabled, the following key press switches
off the microphone.
4. Power
led is ON when the microphone is operating.
5. IR
Infrared (input) door.
6. Low Bat
When Led is ON, replace or recharge the battery.
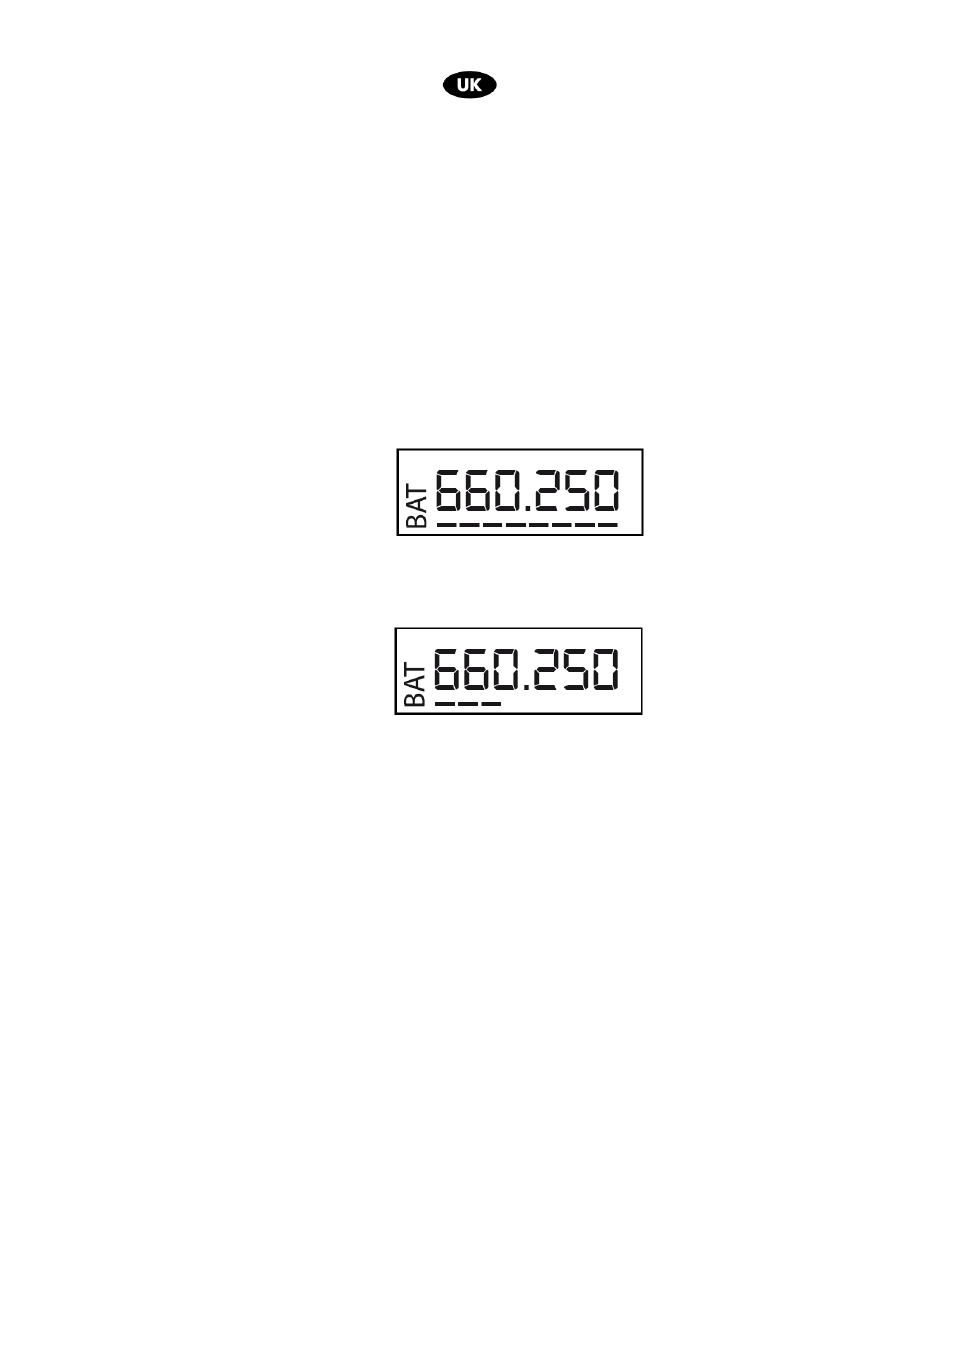
7. DISPLAY
Display states the microphone stand frequency of transmission and the level of the battery charge.
Dashes line drawing inform on the battery charge level , When the dashes are just 3, the battery is
discharged.
8. VOL
Microphone stand volume output level control.
9. H - R
RF Power
For microphone stand transmission power set up. When the distance ( with reference to the receiver unit) is
less than 20 meters use L (Low Power) set up, while for distances above 20 meters set the selector on
H(High Power). The maximum operating distance 50/60 meters.
Note: the selector setting influences the battery charges duration (8-9 h at Hi and 10-11 H at Lo)
10. Battery compartment
11. Label
Label reports the microphone stand channel and operating band.
6. HOW TO USE THE SYSTEM
Connect to the input (fig.2, ref.6) AC/DC power supply. Prior connect to the main power supply 117-230VAC
and switch On the receiver Unit through the POWER key (fig.1, ref.1).
Note: the system features the factory setting and does not need any new setting up. The factory system set up
program is done on the same frequency. In case of contemporaneous multi system use, the reprogramming is
necessary.