Riello UPS Environmental sensors Manuale d'uso
Environmental sensors, Installation instructions
0MNACCCSE2LUD
- 1 -
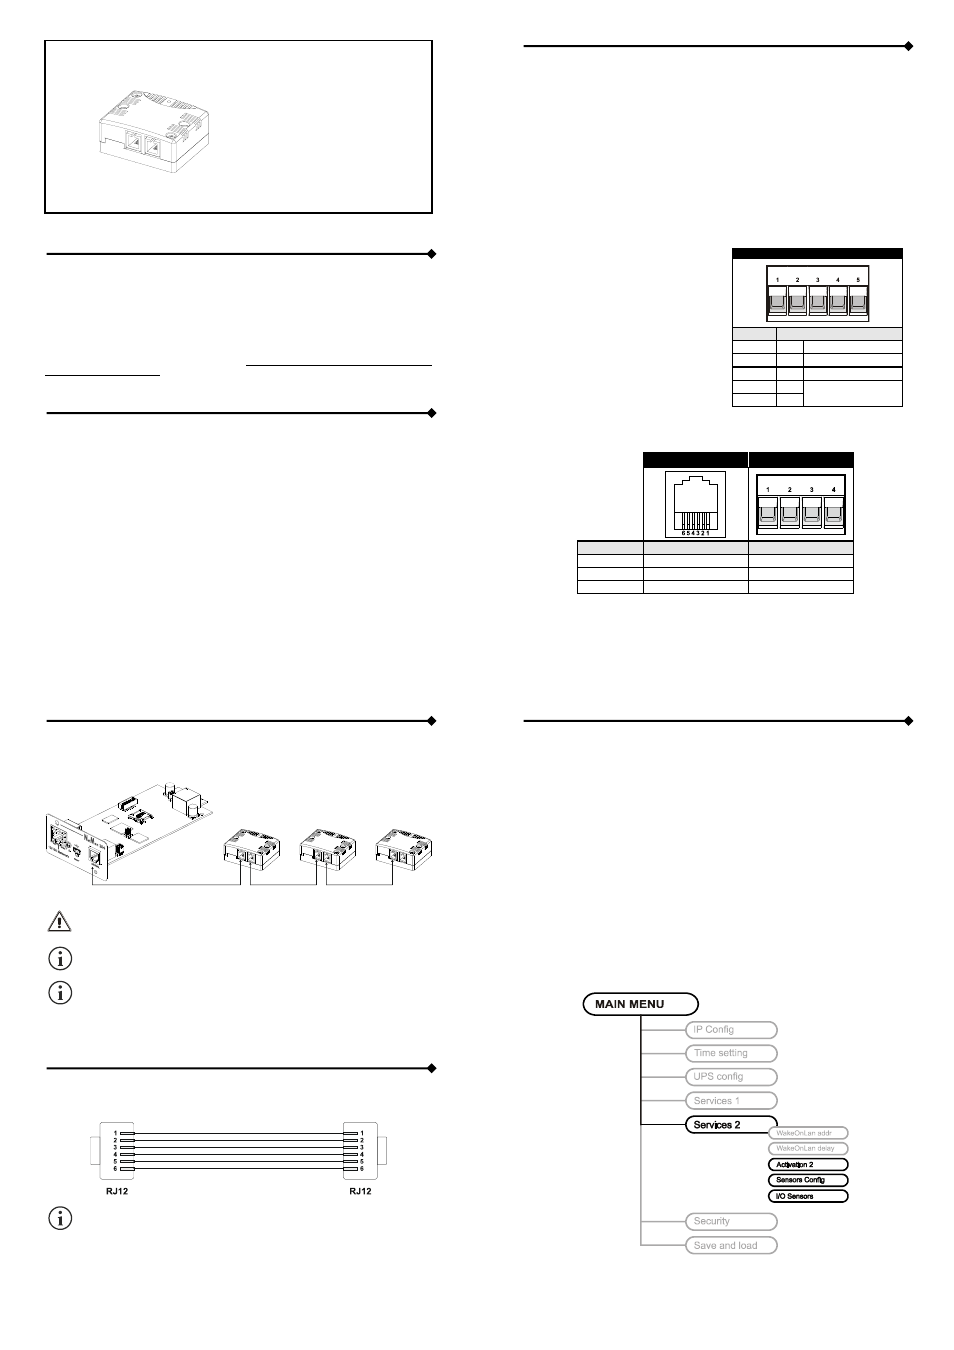
ENVIRONMENTAL SENSORS
Temperature
Humidity & Temperature
Digital I/O & Temperature
- Installation instructions -
INTRODUCTION
Thank you for choosing our product.
The accessories described in this manual are of the highest quality, carefully designed and built in
order to ensure excellent performance.
This manual contains detailed instructions on how to install and use the product.
It should be kept with care near the device, so that it can be consulted for information on
how to use and make the most of your device. IT SHOULD BE READ BEFORE YOU START
WORKING ON THE DEVICE.
SAFETY
This part of the manual contains SAFETY precautions that must be followed scrupulously.
The device has been designed to operate only in closed environments. It should be
installed in rooms where there are no inflammable liquids, gas or other harmful substances.
Take care that no water or liquids and/or foreign bodies fall into the device.
In the event of a fault and/or impaired operation of the device, do not attempt to repair it but
contact the authorized service centre.
The device must be used exclusively for the purpose for which it was designed. Any other
use is to be considered improper and as such dangerous. The manufacturer declines all
responsibility for damage caused by improper, wrong and unreasonable use.
© No part of this manual may be reproduced without the prior written permission of the manufacturer.
The manufacturer reserves the right to modify the product described in this manual at any time and without
notice.
- 2 -
TECHNICAL DATA
T
EMPERATURE SENSOR
Temperature
Range: -20°C / +50°C
Resolution:
0.5°C
H
UMIDITY
&
T
EMPERATURE SENSOR
Humidity
Range: 0% / 100%
Resolution:
3.5%
Temperature
Range: -20°C / +50°C
Resolution:
2°C
D
IGITAL
I/O
&
T
EMPERATURE SENSOR
Output
NO and NC Relay
maximum load 1A / 48V
IO TERMINAL BOARD PINOUT
POSITION
DESCRIPTION
1
NC
NORMALLY CLOSED
2
C
COMMON
3
NO
NORMALLY OPEN
4
IN
DRY CONTACT
5
GND
Input Dry
contact
Temperature
Range: -20°C / +50°C
Resolution:
0.5°C
D
ATA BUS CONNECTORS
RJ12
TERMINAL BOARD
DESCRIPTION
POSITION
POSITION
+5V 1
1
DATA 3
3
GND 4
2
-
4
NOTE: Position 2, 5 and 6 of RJ12 are not connected.
- 3 -
INSTALLATION
Connect the first sensor to the SERIAL port of the NetMan 204 and then connect in cascade the
following sensors.
For each NetMan 204 is possible to connect up to 3 sensors.
The length of the connection from the NetMan 204 to the last sensor MUST NOT be
over 15m.
Connect the sensors using the cables provided with the devices or according to the
“Data bus connection” specification table.
In order to access to the terminal boards, remove the two screws on the top of the
sensor. Remove then the plastic cover of the cable hole and fix the cable to the board
via a cable tie inserted in the appropriate fixing holes.
CABLE SPECIFICATIONS
Position 2, 5 and 6 of RJ12 are not used.
- 4 -
NETMAN 204 CONFIGURATION
For using the environmental sensors is necessary to adequately configure the NetMan 204.
You can configure it via HTTP, via USB or via SSH. Eventually, refer to NetMan 204 user’s manual
for further information.
C
ONFIGURATION VIA
HTTP
For sensor configuration via HTTP, first of all you have to enable the sensors (sensor configuration
page) and then reboot the NetMan 204.
For correct working of the configuration process, it is necessary to connect the sensors one at time
and add it one by one to the installation list. When all sensors are installed, you have to save the
configuration and reboot the Neman 204.
C
ONFIGURATION VIA
SSH
OR
USB