Internal battery and re-charge timing, Prox unit preparation – Proel PROX Manuale d'uso
Pagina 14
14
14
ENGLISH
Internal battery and re-charge timing
First unit use
First time unit use, it is necessary to re-charge the battery for at least 4/5 hours. Connect the power supply in-
cluded in the standard unit package supply to plug (11) and switch on switch (9).
The batteries are originally charged into the factory but during the storage purposes such battery charge could
decrease lightly and could not match with the operating autonomy timing indicated in the unit features.
Prox unit can be used during the battery recharge purposes. In fact the AC Prox unit power supply has been
designed to ensure to unit use while the battery is under recharge process.
PROX unit internal accumulator is high capacity characterized (Nickel-Hydro-Metal). PROX unit features an
internal and appropriate recharge circuit.
To ensure PROX unit performance, it is important to maintain the battery effi
ciency and ensure to recharge the
batteries when necessary.
CHARGE (13) Led indicator allows to monitor the battery charge status. During the battery re-charges process,
such indicator lights and maintains ON status when the charge level is max.
If during Normal Prox unit ON blue colour (12) Led indicator lights, then the remaining autonomy level is at 30%
and then it is necessary to re-charge the battery for 4/5 hours (complete charge). Disconnect the battery power
supply when the battery recharge operation completed 11 (21V/4A). The battery and the battery recharge cir-
cuit are fuse protected. When replacement is necessary ensure to use device with similar characteristics.
Note – To ensure a regular duration life, avoid complete battery discharge.
Do not put under charge Prox system more than normal charge timing CHARGE (13) indicator led.
Recharge the battery before the unit storage purposes.
The battery is subject to a slow auto-discharge. It is necessary to proceed with a periodic recharge (approxi-
mately each 2/3 months).
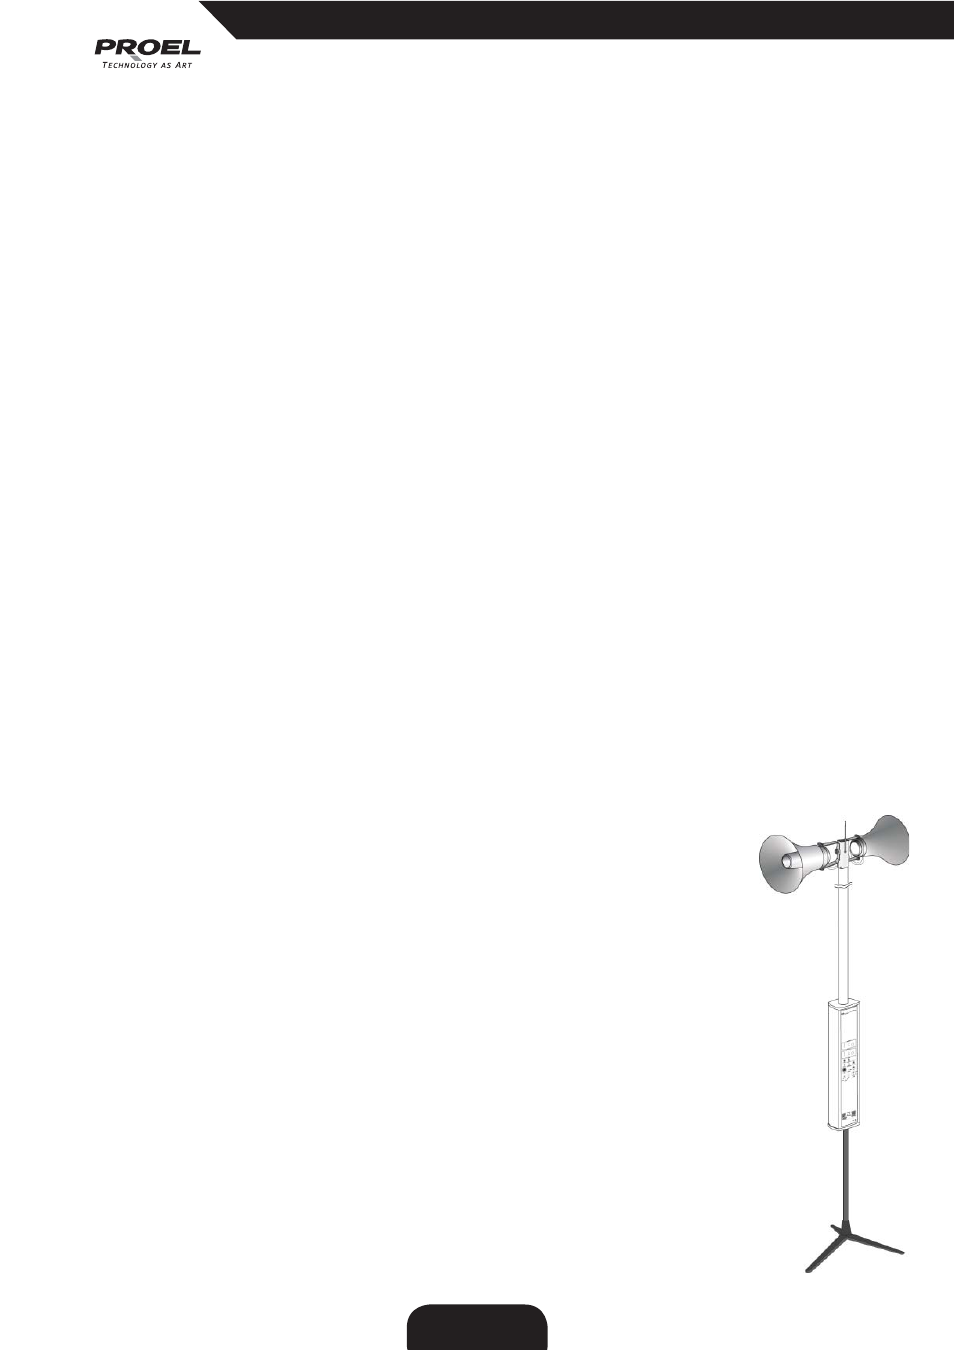
PROX unit
preparation
Remove the diff erent accessories to assemble the Prox unit. Connect the antenna to BNC
input, located on the high side of the support bar.
Then join the connector on the low side of the bar in the dedicated socket, successively
rotate on the left the bar until to lock up it.
To disassemble the system, push the dedicated mechanical button on the connector and
get out the bar, rotating on the right.
N.B. This procedure is valid considering a Prox front view.
Once assembled, the product is ready to use, wearing the appropriate belt supplied.
In addition to mobile use, Prox is predisposed for a stationary use: it is possible to exploit
a specifi c optional fl oor tripod (PA SPSK290BK), inserting it in the dedicated joint on the
Prox bottom.